automation action에 webhook URL을 추가하면, 정의한 rule과 일치하는 새로운 run이 있을 때마다 webhook endpoint로 POST 요청을 보냅니다.
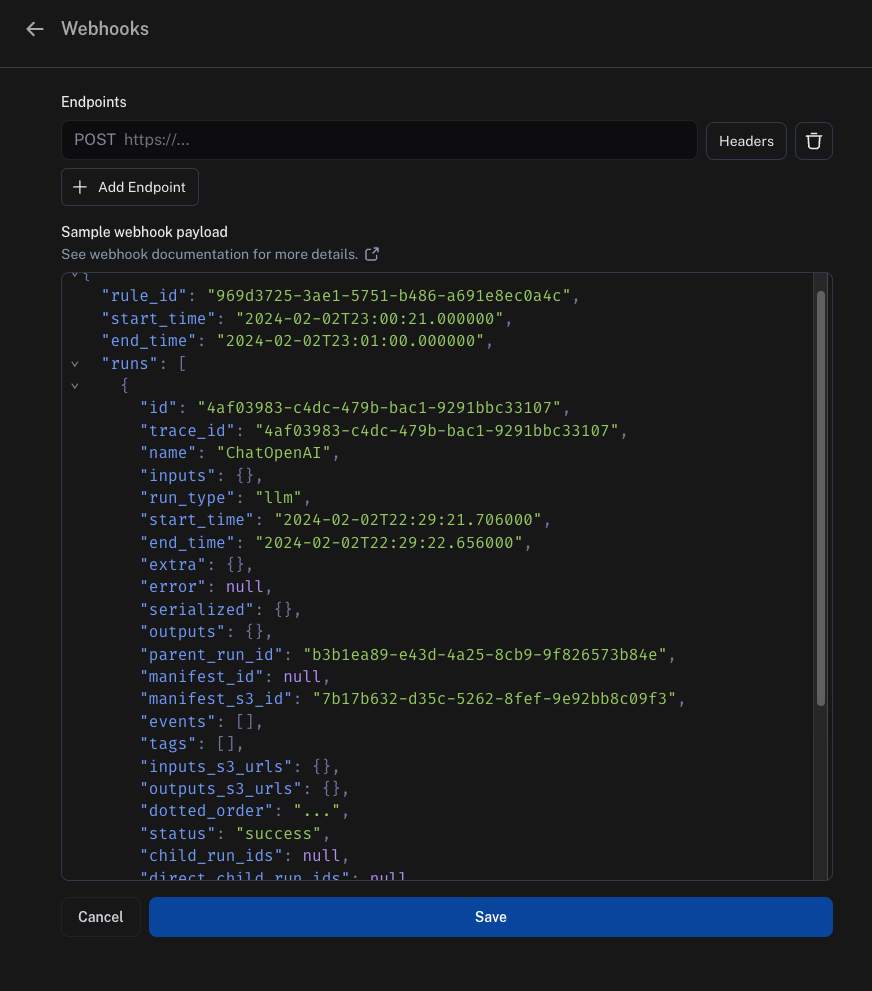
Webhook payload
webhook endpoint로 전송하는 payload에는 다음이 포함됩니다:
"rule_id": 이 payload를 전송한 automation의 ID입니다"start_time" 및 "end_time": 일치하는 run을 찾은 시간 범위입니다"runs": run의 배열이며, 각 run은 dictionary입니다. 각 run에 대한 더 많은 정보가 필요한 경우 endpoint에서 SDK를 사용하여 API에서 가져오는 것을 권장합니다."feedback_stats": run에 대한 피드백 통계가 포함된 dictionary입니다. 이 필드의 예시 payload는 아래에 표시되어 있습니다.
"feedback_stats": {
    "about_langchain": {
        "n": 1,
        "avg": 0.0,
        "show_feedback_arrow": true,
        "values": {}
    },
    "category": {
        "n": 0,
        "avg": null,
        "show_feedback_arrow": true,
        "values": {
            "CONCEPTUAL": 1
        }
    },
    "user_score": {
        "n": 2,
        "avg": 0.0,
        "show_feedback_arrow": false,
        "values": {}
    },
    "vagueness": {
        "n": 1,
        "avg": 0.0,
        "show_feedback_arrow": true,
        "values": {}
    }
}
S3 URL에서 가져오기run이 얼마나 최근인지에 따라 inputs_s3_urls 및 outputs_s3_urls 필드에 데이터 자체 대신 실제 데이터에 대한 S3 URL이 포함될 수 있습니다.inputs 및 outputs는 각각 inputs_s3_urls 및 outputs_s3_urls에 제공된 ROOT.presigned_url을 통해 가져올 수 있습니다.
{
  "rule_id": "d75d7417-0c57-4655-88fe-1db3cda3a47a",
  "start_time": "2024-04-05T01:28:54.734491+00:00",
  "end_time": "2024-04-05T01:28:56.492563+00:00",
  "runs": [
    {
      "status": "success",
      "is_root": true,
      "trace_id": "6ab80f10-d79c-4fa2-b441-922ed6feb630",
      "dotted_order": "20230505T051324571809Z6ab80f10-d79c-4fa2-b441-922ed6feb630",
      "run_type": "tool",
      "modified_at": "2024-04-05T01:28:54.145062",
      "tenant_id": "2ebda79f-2946-4491-a9ad-d642f49e0815",
      "end_time": "2024-04-05T01:28:54.085649",
      "name": "Search",
      "start_time": "2024-04-05T01:28:54.085646",
      "id": "6ab80f10-d79c-4fa2-b441-922ed6feb630",
      "session_id": "6a3be6a2-9a8c-4fc8-b4c6-a8983b286cc5",
      "parent_run_ids": [],
      "child_run_ids": null,
      "direct_child_run_ids": null,
      "total_tokens": 0,
      "completion_tokens": 0,
      "prompt_tokens": 0,
      "total_cost": null,
      "completion_cost": null,
      "prompt_cost": null,
      "first_token_time": null,
      "app_path": "/o/2ebda79f-2946-4491-a9ad-d642f49e0815/projects/p/6a3be6a2-9a8c-4fc8-b4c6-a8983b286cc5/r/6ab80f10-d79c-4fa2-b441-922ed6feb630?trace_id=6ab80f10-d79c-4fa2-b441-922ed6feb630&start_time=2023-05-05T05:13:24.571809",
      "in_dataset": false,
      "last_queued_at": null,
      "inputs": null,
      "inputs_s3_urls": null,
      "outputs": null,
      "outputs_s3_urls": null,
      "extra": null,
      "events": null,
      "feedback_stats": null,
      "serialized": null,
      "share_token": null
    }
  ]
}
Security
webhook URL에 secret query string parameter를 추가하고 들어오는 모든 요청에서 이를 확인하는 것을 강력히 권장합니다. 이렇게 하면 누군가 webhook URL을 발견하더라도 해당 호출을 실제 webhook 알림과 구별할 수 있습니다.
예시는 다음과 같습니다
https://api.example.com/langsmith_webhook?secret=38ee77617c3a489ab6e871fbeb2ec87d
Headers 옵션을 클릭하고 header를 추가하세요.

Webhook Delivery
webhook endpoint로 이벤트를 전달할 때 다음 지침을 따릅니다
- endpoint에 연결하지 못하면 전달 실패를 선언하기 전에 전송 연결을 최대 2번까지 재시도합니다.
- endpoint가 응답하는 데 5초 이상 걸리면 전달 실패를 선언하고 재시도하지 않습니다.
- endpoint가 5초 이내에 5xx 상태 코드를 반환하면 exponential backoff로 최대 2번까지 재시도합니다.
- endpoint가 4xx 상태 코드를 반환하면 전달 실패를 선언하고 재시도하지 않습니다.
- endpoint가 body에 반환하는 모든 내용은 무시됩니다
Modal을 사용한 예시
Setup
설정 방법의 예시로 Modal을 사용하겠습니다. Modal은 추론 및 fine-tuning을 위한 자동 확장 GPU, code agent를 위한 안전한 컨테이너화, 그리고 serverless Python web endpoint를 제공합니다. 여기서는 web endpoint에 중점을 둡니다.
먼저 Modal 계정을 만드세요. 그런 다음 로컬에 Modal SDK를 설치합니다:
계정 설정을 완료하려면 다음 명령을 실행하세요:
그리고 지침을 따르세요
Secrets
다음으로 Modal에서 일부 secret을 설정해야 합니다.
먼저, LangSmith는 secret을 전달하여 Modal에 인증해야 합니다.
가장 쉬운 방법은 query parameter에 secret을 전달하는 것입니다.
이 secret을 검증하려면 _Modal_에 secret을 추가하여 검증해야 합니다.
Modal secret을 생성하여 이를 수행합니다.
secret에 대한 지침은 여기에서 확인할 수 있습니다.
이 목적을 위해 secret을 ls-webhook이라고 부르고 LS_WEBHOOK이라는 이름의 환경 변수를 설정하도록 하겠습니다.
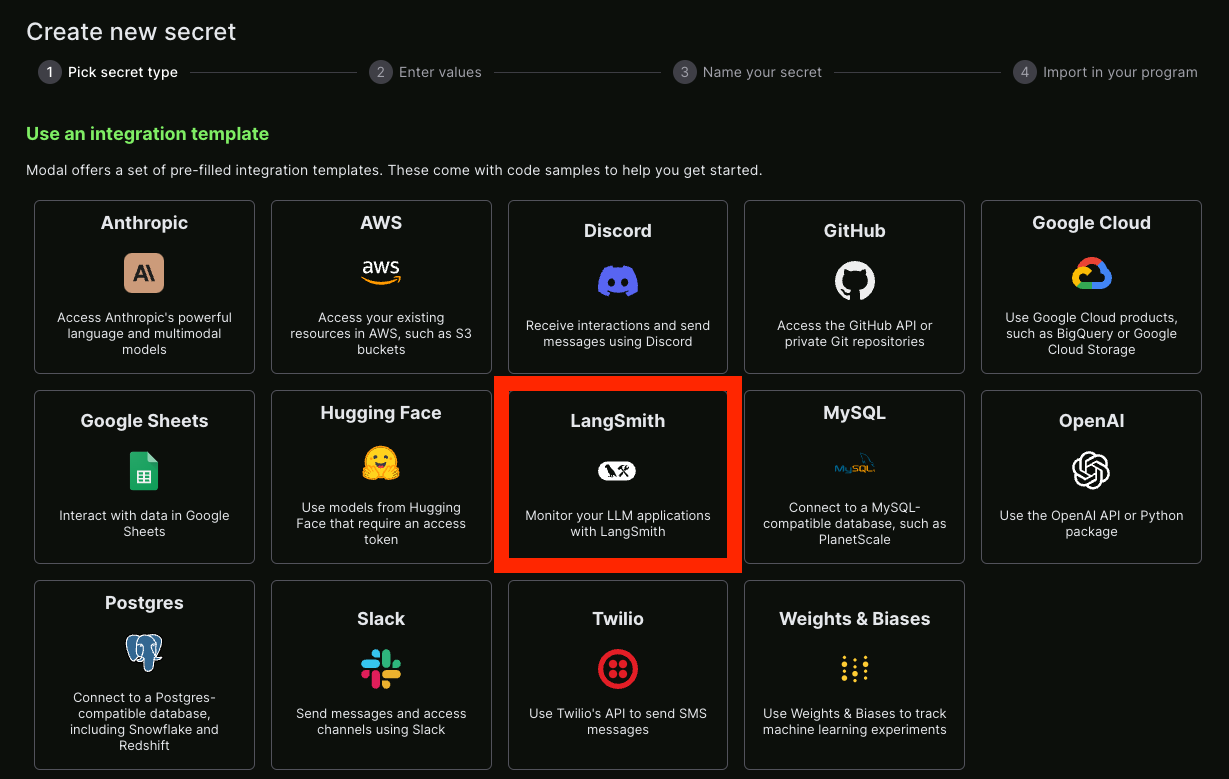
LangSmith secret도 설정할 수 있습니다 - 다행히 이미 통합 템플릿이 있습니다!
Service
그 후 endpoint 역할을 할 Python 파일을 만들 수 있습니다.
아래는 무슨 일이 일어나고 있는지 설명하는 주석이 포함된 예시입니다:
from fastapi import HTTPException, status, Request, Query
from modal import Secret, Stub, web_endpoint, Image

stub = Stub("auth-example", image=Image.debian_slim().pip_install("langsmith"))


@stub.function(
    secrets=[Secret.from_name("ls-webhook"), Secret.from_name("my-langsmith-secret")]
)
# We want this to be a `POST` endpoint since we will post data here
@web_endpoint(method="POST")
# We set up a `secret` query parameter
def f(data: dict, secret: str = Query(...)):
    # You can import dependencies you don't have locally inside Modal functions
    from langsmith import Client

    # First, we validate the secret key we pass
    import os

    if secret != os.environ["LS_WEBHOOK"]:
        raise HTTPException(
            status_code=status.HTTP_401_UNAUTHORIZED,
            detail="Incorrect bearer token",
            headers={"WWW-Authenticate": "Bearer"},
        )

    # This is where we put the logic for what should happen inside this webhook
    ls_client = Client()
    runs = data["runs"]
    ids = [r["id"] for r in runs]
    feedback = list(ls_client.list_feedback(run_ids=ids))
    for r, f in zip(runs, feedback):
        try:
            ls_client.create_example(
                inputs=r["inputs"],
                outputs={"output": f.correction},
                dataset_name="classifier-github-issues",
            )
        except Exception:
            raise ValueError(f"{r} and {f}")
    # Function body
    return "success!"
modal deploy ...로 쉽게 배포할 수 있습니다 (문서는 여기 참조).
이제 다음과 같은 결과를 얻을 수 있습니다:
✓ Created objects.
├── 🔨 Created mount /Users/harrisonchase/workplace/langsmith-docs/example-webhook.py
├── 🔨 Created mount PythonPackage:langsmith
└── 🔨 Created f => https://hwchase17--auth-example-f.modal.run
✓ App deployed! 🎉

View Deployment: https://modal.com/apps/hwchase17/auth-example
https://hwchase17--auth-example-f.modal.run - 실행하기 위해 생성한 function입니다.
참고: 이것은 최종 배포 URL이 아니므로 실수로 사용하지 않도록 주의하세요.
Hooking it up
이제 위에서 생성한 function URL을 가져와서 webhook으로 추가할 수 있습니다.
query parameter로 secret key도 전달해야 한다는 것을 기억해야 합니다.
모두 합치면 다음과 같이 보일 것입니다:
https://hwchase17--auth-example-f-dev.modal.run?secret={SECRET}
{SECRET}을 Modal service에 액세스하기 위해 생성한 secret key로 바꾸세요.

